0. FreeBSD Installation
Before you install Hoster, let me walk you through the FreeBSD installation procedure that is officially supported to smoothly run it on your box.
TLDR
TLDR for the advanced users. You can stick to your normal installation procedure as long as:
- ZFS is chosen as your default file system
- OS/root ZFS pool name must be kept as
zroot Unboundis installed along with the base system
If you've manually built your FreeBSD kernel, don't forget to include
bhyvesupport!
Other than that, everything else can be modified.
Boot FreeBSD Installation Image
We officially support FreeBSD 13 Release (13.1 and 13.2), and FreeBSD 14 Current

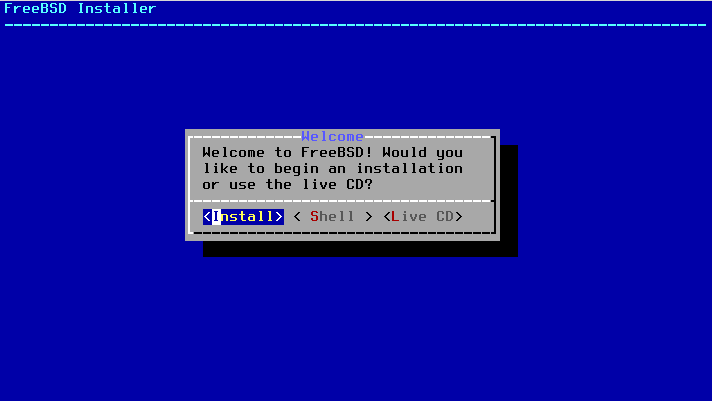
Hit enter to start the installation
First steps
Keyboard layout
Select your keyboard layout (I'll stick to the US keyboard layout)

Hostname
Pick a host name

Optional system components
Select optional system components (at least pick what's selected on a screenshot)

Network settings
Pick your main network interface

Assign IPv4 address
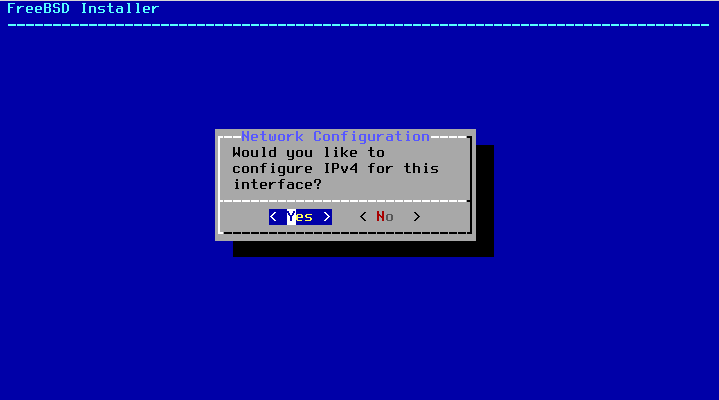
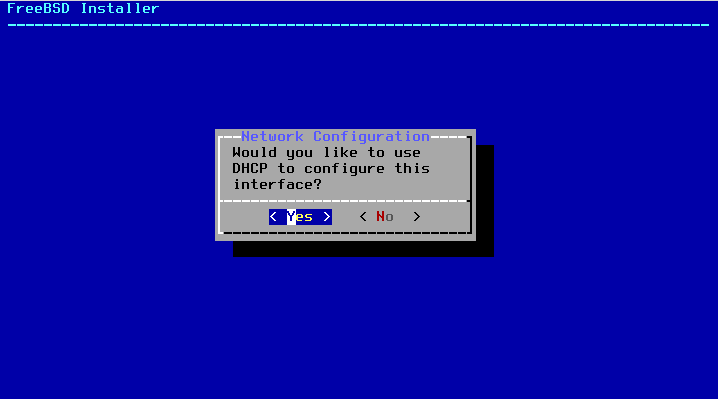
I am using the DHCP here, but you can also pick no and manually assign IPv4 address
HosterCore doesn't yet support IPv6, so I'll skip it for now

DNS
Configure DNS

ZFS settings
Choose ZFS as your file system

Pick the correct ZFS settings:
- Pool name must be
zroot - I am usually encrypting SWAP and giving it at least 4GB
- Pool type, number of disks involved and so on are not important and you are free to choose whatever works best for you

I am using stripe or RAID0 in other words for this setup, because it only has one disk

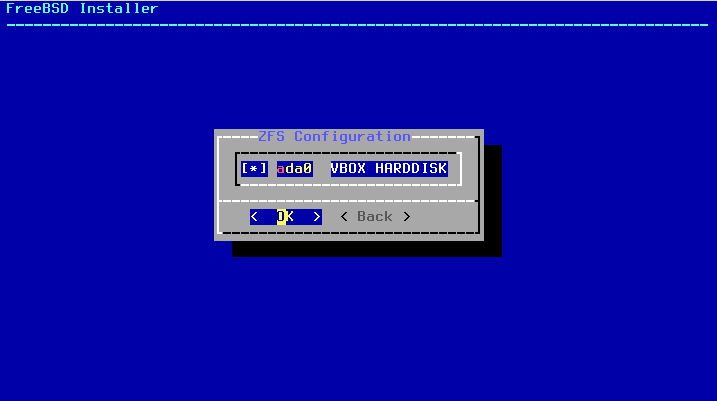
Mark the disks you'd like to be included in the initial installation
Confirm that you are happy with the storage setup so far

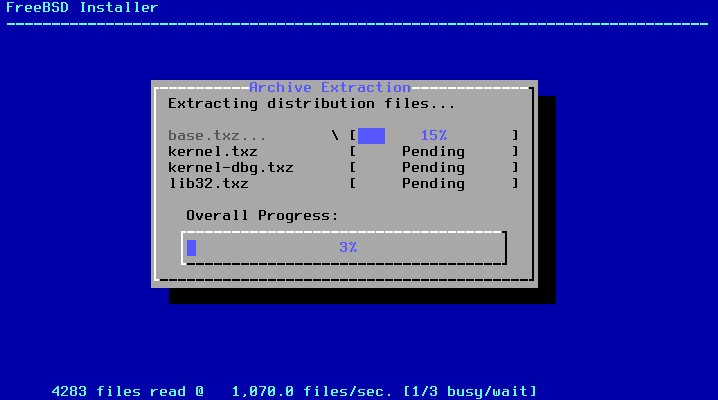
Download and extract the missing parts
I am using a small installation image, and now it's required to pick an online mirror to grab the missing packages

Wait just a couple of minutes for the installer to download and extract the required stuff

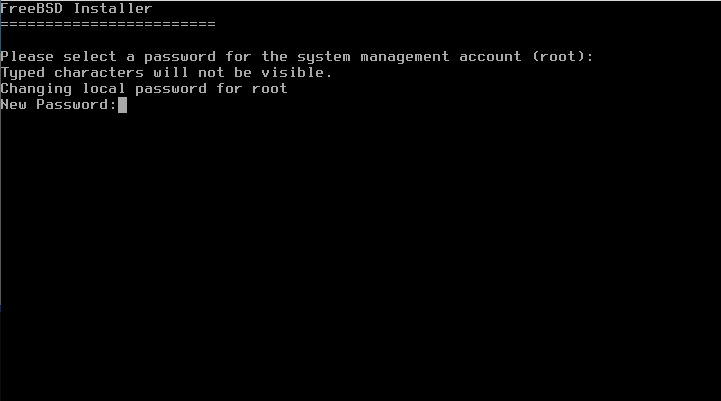
Root password
Assign a root password
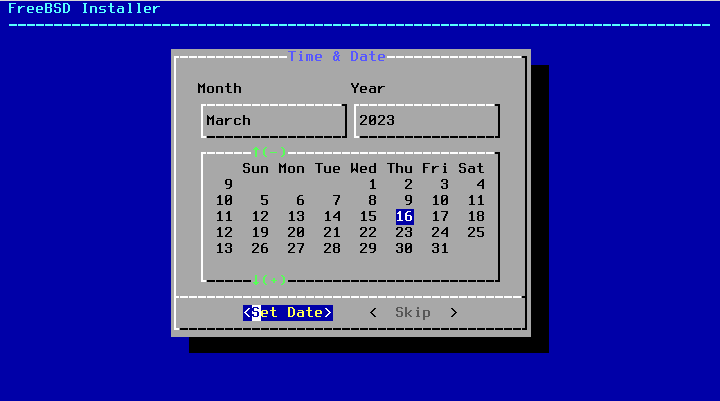
Timezone settings
Pick a time zone


Additional packages
Install additional packages (please select all things, like you see in the screenshot)

System hardening
System hardening (I am usually selecting all of the below)

Add more users
HosterCore requires root user, so I don't bother with adding users on private nodes. Plus you can always add more users later.

Finish the installation
Finish the installation and reboot the system


Final touches
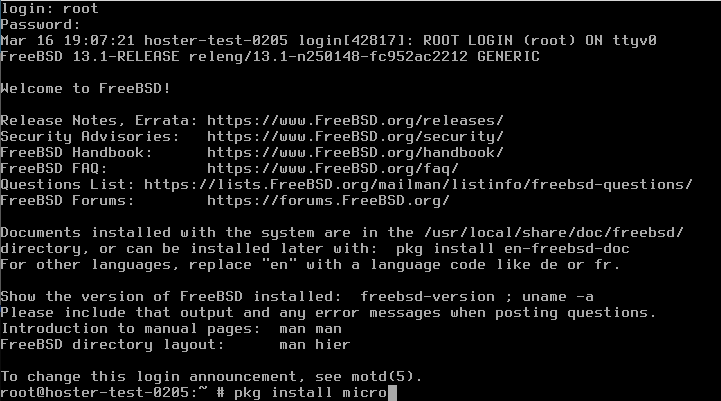
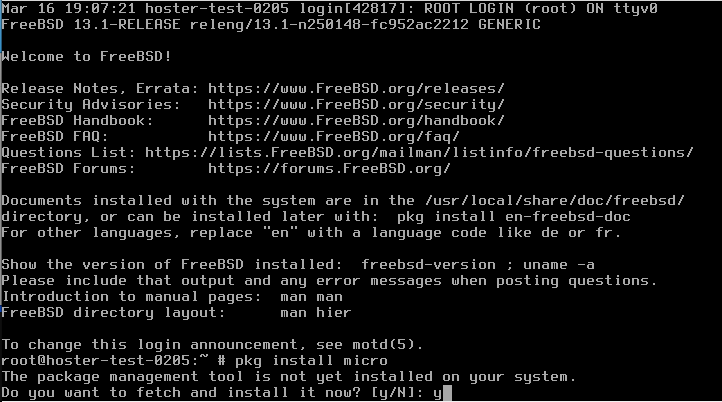
Log in

Install your favourite text editor
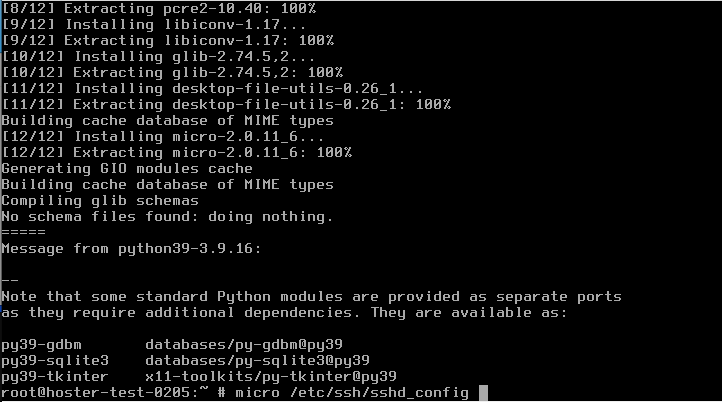
My favourite text editor is micro, that's why I am gonna install and use it here

Edit SSH config
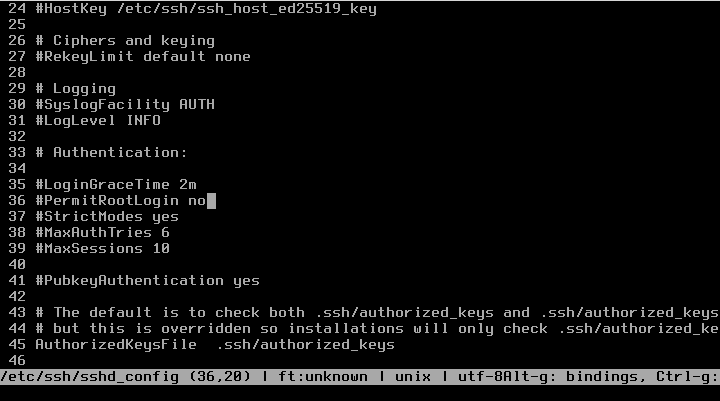
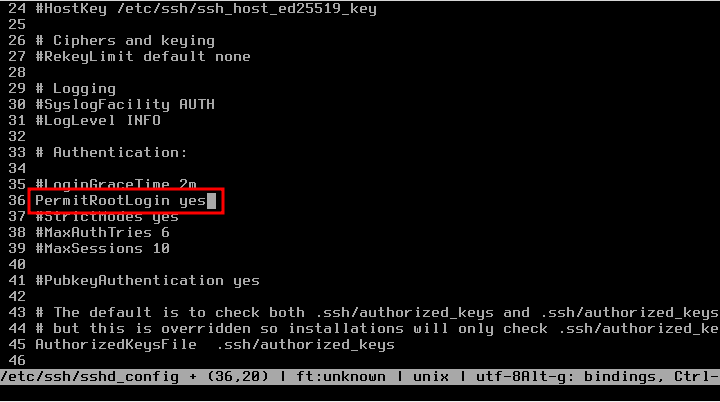
I want to enable remote root SSH login, because it's the only available account on this system right now
Find a line 36 (or close to that), which should say PermitRootLogin, change from no to yes and uncomment it
Restart SSH
Now we simply need to restart the SSHD service, and we'll be ready to move on to the next step: HosterCore installation
